My Latest Porsche

Absorbing vitamin c from a vintage targa. The arena red widebody is center right in the photo
It all started with my friend Alex and I making a trip to Rivard competition just past Trois Riviers Quebec, almost to Quebec City. There were lots of Porsche's to admire but our attention was focused on the very low mileage 993 C2S I had come to see. I always wanted another widebody since owning a 1985 option 491 years ago. We got it up on the hoist and checked it out. No question , the mileage was original. We then both took it for a test drive. Later that week my brother Terry drove me down to pick up the car. Just in time as it snowed that night. It then got safely tucked into the garage and within days the engine was out. Thankfully Alex and JJ helped me with the task. The days of pulling 911 engines on my own are behind me.
Here are the pre delivery pic's
 |
Nice rear end photo |


,
The Ride Home


A nice picture, It's too bad I had left the door open. No washroom for miles, had to use the field.
Just a teaser

The plan
Ok ,so time to get some work done. The plan is to go over everything. Restore the whole car to better than new. Replace all seals and gaskets, Shocks, spark plug wires , plugs,detail engine and engine compartment ,transmission and underneath of car, replace sound pad with a better one, glass bead and coat aluminum suspension parts, caps and rotors, dismantle and clean brake rotors and much more. I want ultimate reliability and years of trouble free driving,. It's not the mileage it's the time.
First Things First
 | ||
Get the engine and transmission outNext Detail the transmission
 Easier to clean outside Because of the low mileage the yellow zinc is still perfect I decided to inspect and replace the drive shaft and cover seals due to the low mileage and time Alex doing an inspection   Waiting for the Porsche gaskets to complete the Job. Next back to the body and suspension
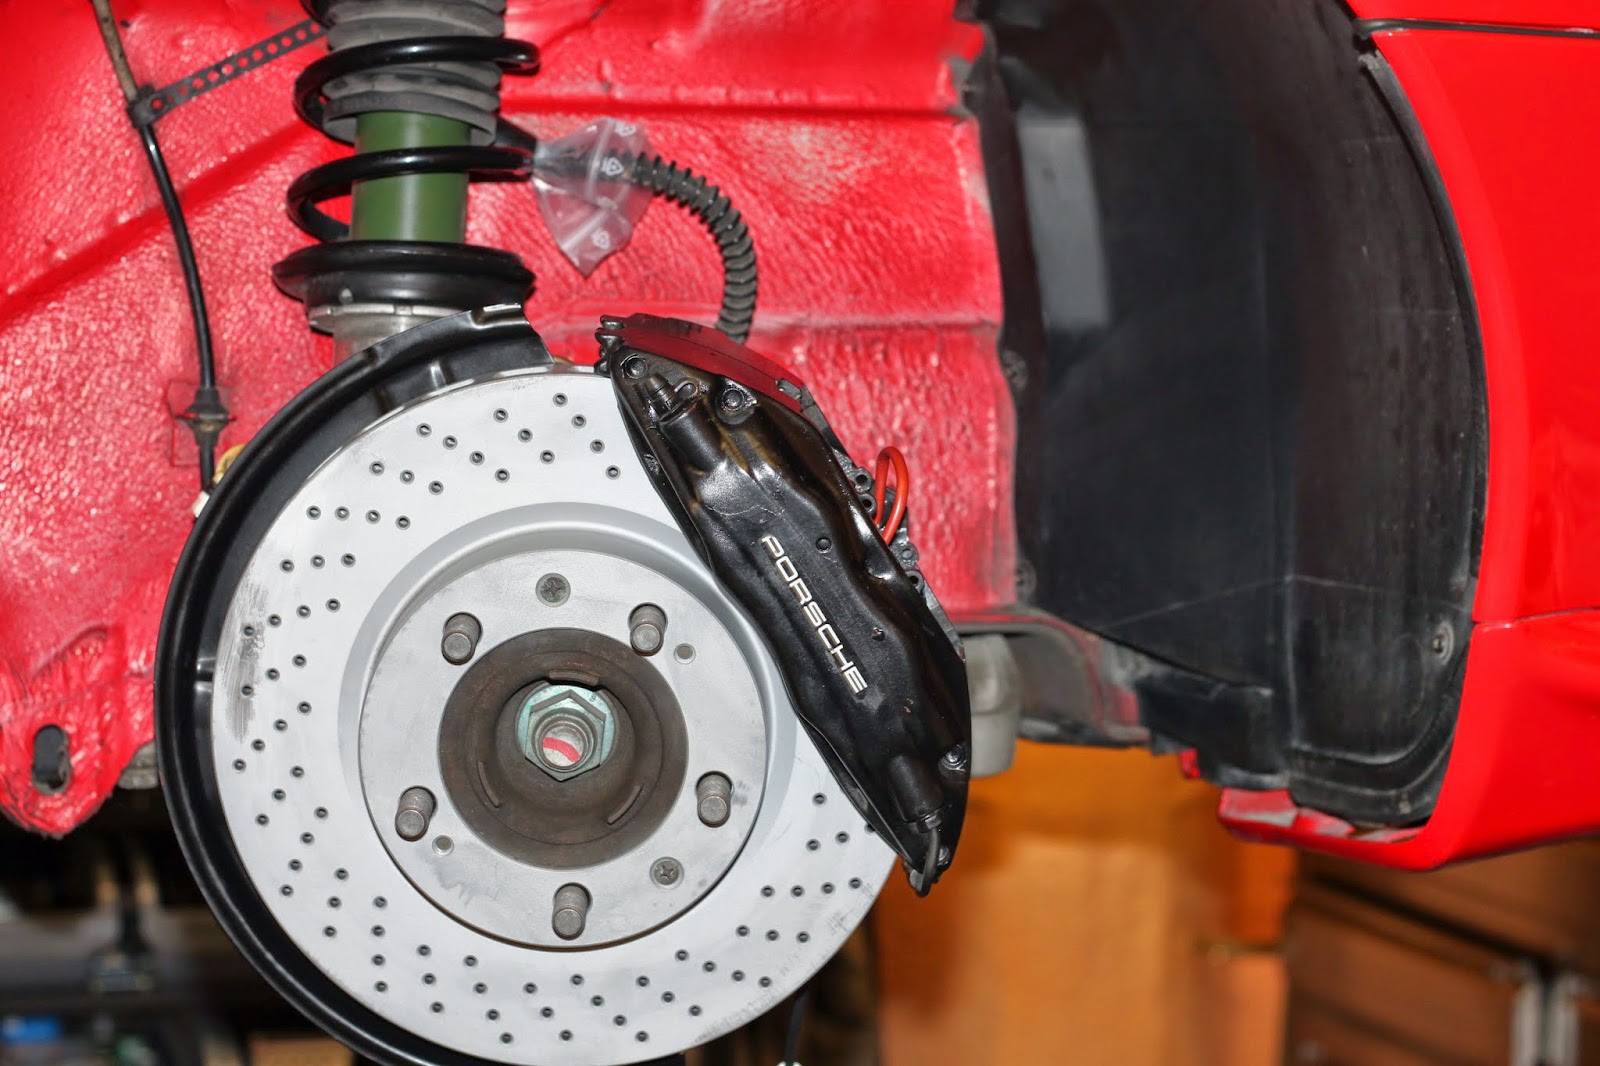
Wow!
 With the rear sub frame removed it was time for some thorough cosmoline and dirt removal.Alex could take credit for most of this.Who was that cosmoline man?On to the rear suspension cleaning   I hate cosmoline Before==============After Glass beaded and high temp clear coat New shock and back together on one side  On to the engine compartment and the heat pad
I did not get a picture of the top but because of the age it was as usual a mess. Dried up and wrinkled.
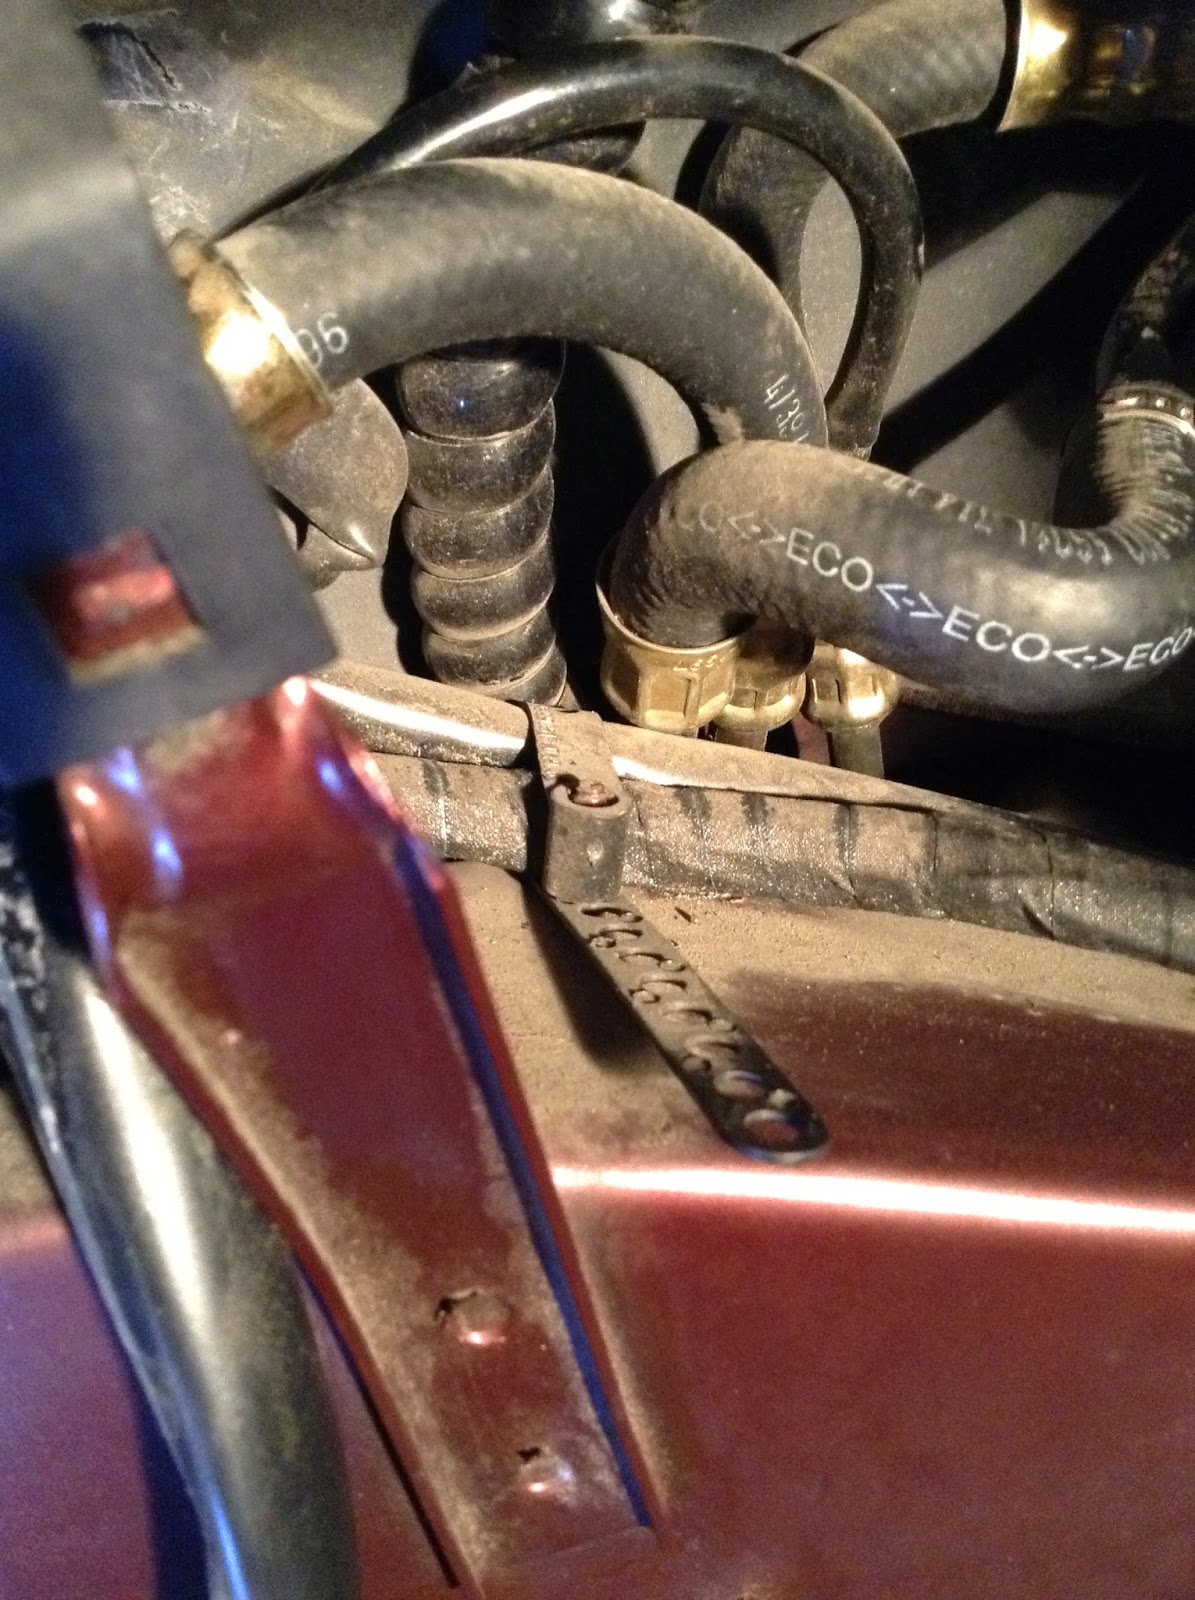
Lots of dirt. Best to cut the tie wraps and replace them with new ones after you have cleaned.

The old pad being removed. Make sure to clean all the glue residue off to ensure proper bonding. I used 3M spray on the back and 3M adhesive paste all along the top ledge.
 Not a bad idea to use the buttons when sliding in the new pad (just don't forget to remove them ALL).
After installation
.JPG)  .JPG) Back to the engine
Magic
 After a bit of work the wiring harness and spark plug wires are removed. Although they both have low mileage the wires have still hardened slightly and will receive a custom set of Beru red wires. The harness will be replaced with a new replacement as I have a new boxed factory replacement in stock. This engine will get only the best as it is the final build for personal use. Fortunately the cosmoline sprayer at the factory does not cover the top of the engine. I will flip this over and get at the cosmoline mess below. 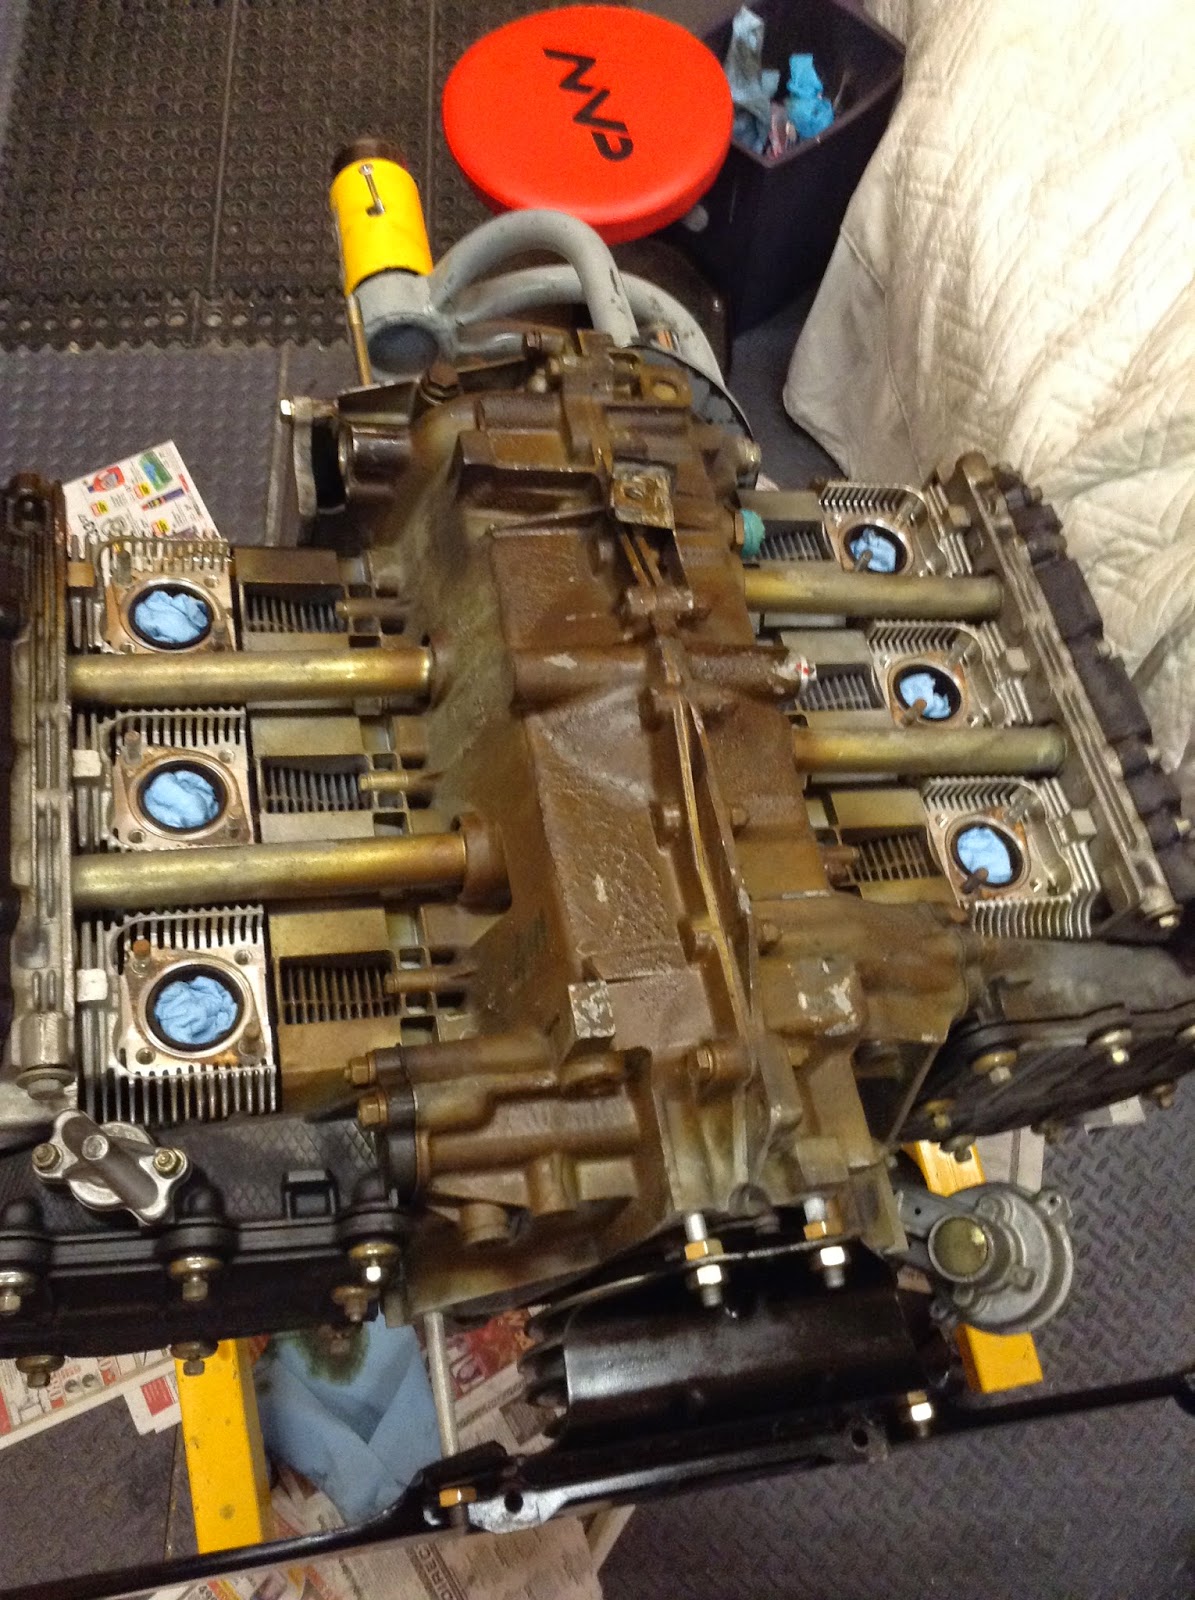 The cosmoline is thick and has to be removed with lacquer thinner. A tedious job but necessary. After 6-8 hours with everything from plastic scrapers to Qtips  Voila, more magic More to come later new lifters and gaskets to be replacedPLUS Gold Zinc plating!!!
TIP Best results if you clean in muriatic acid first and remove the old coating.
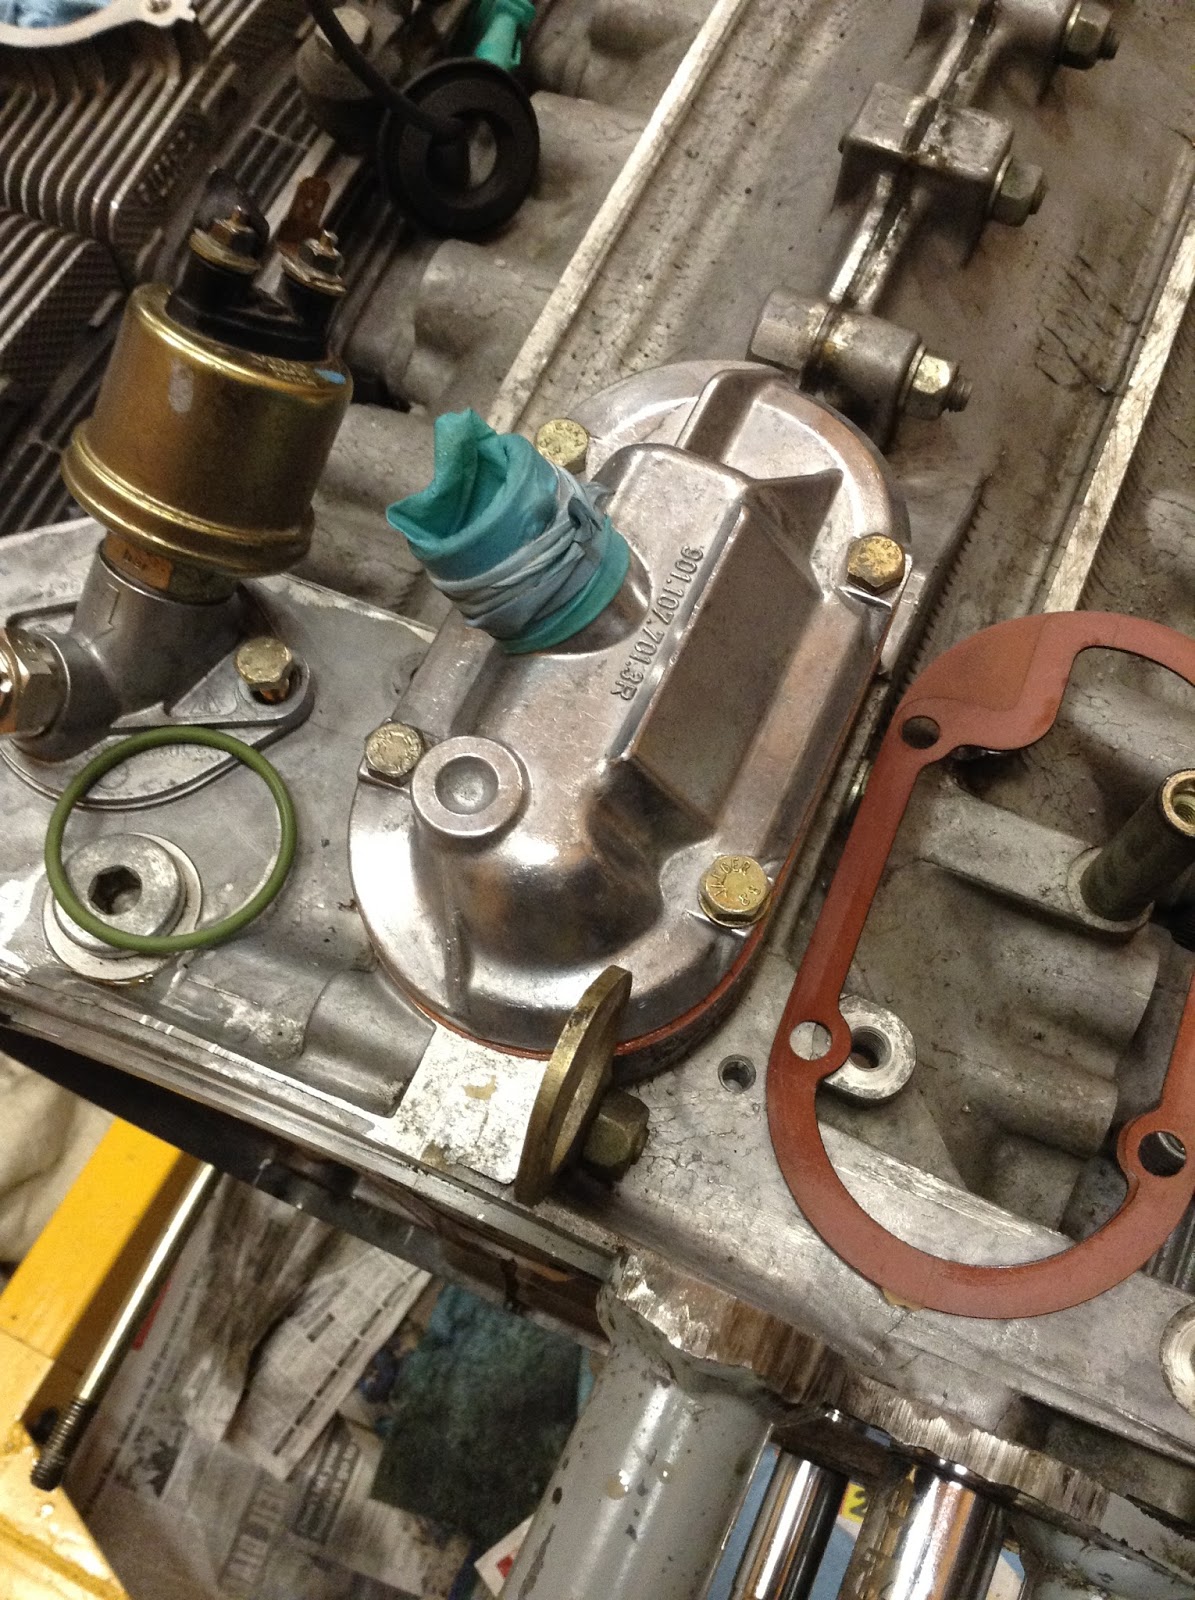
A few pictured of the tappet seal replacement. Even with the low mileage on my car I elected to replace them while the engine was on the bench. Time in use I find erodes the plastic seals and the new ones are better materials. |


 |
| A few of the many seals that were carefully replaced. Actually every seal and gasket was replaced. I don't want any leaks. |

 |
| The completed engine ready to go back in |